Going in to a huge detailed painting can be cripplingly intimidating. Some people quit before they even start because they don’t know WHERE to start!
One really good solution to that is value studies. These are particularly useful for photo-realistic paintings with complex shapes and shading. Here’s how I tackle them:
I usually start my wildlife paintings with a photoshop mock-up. I usually use photos that I’ve taken, but on occasion I need to scour the internet for what I need.
For my latest painting, I used a combination of these photos:
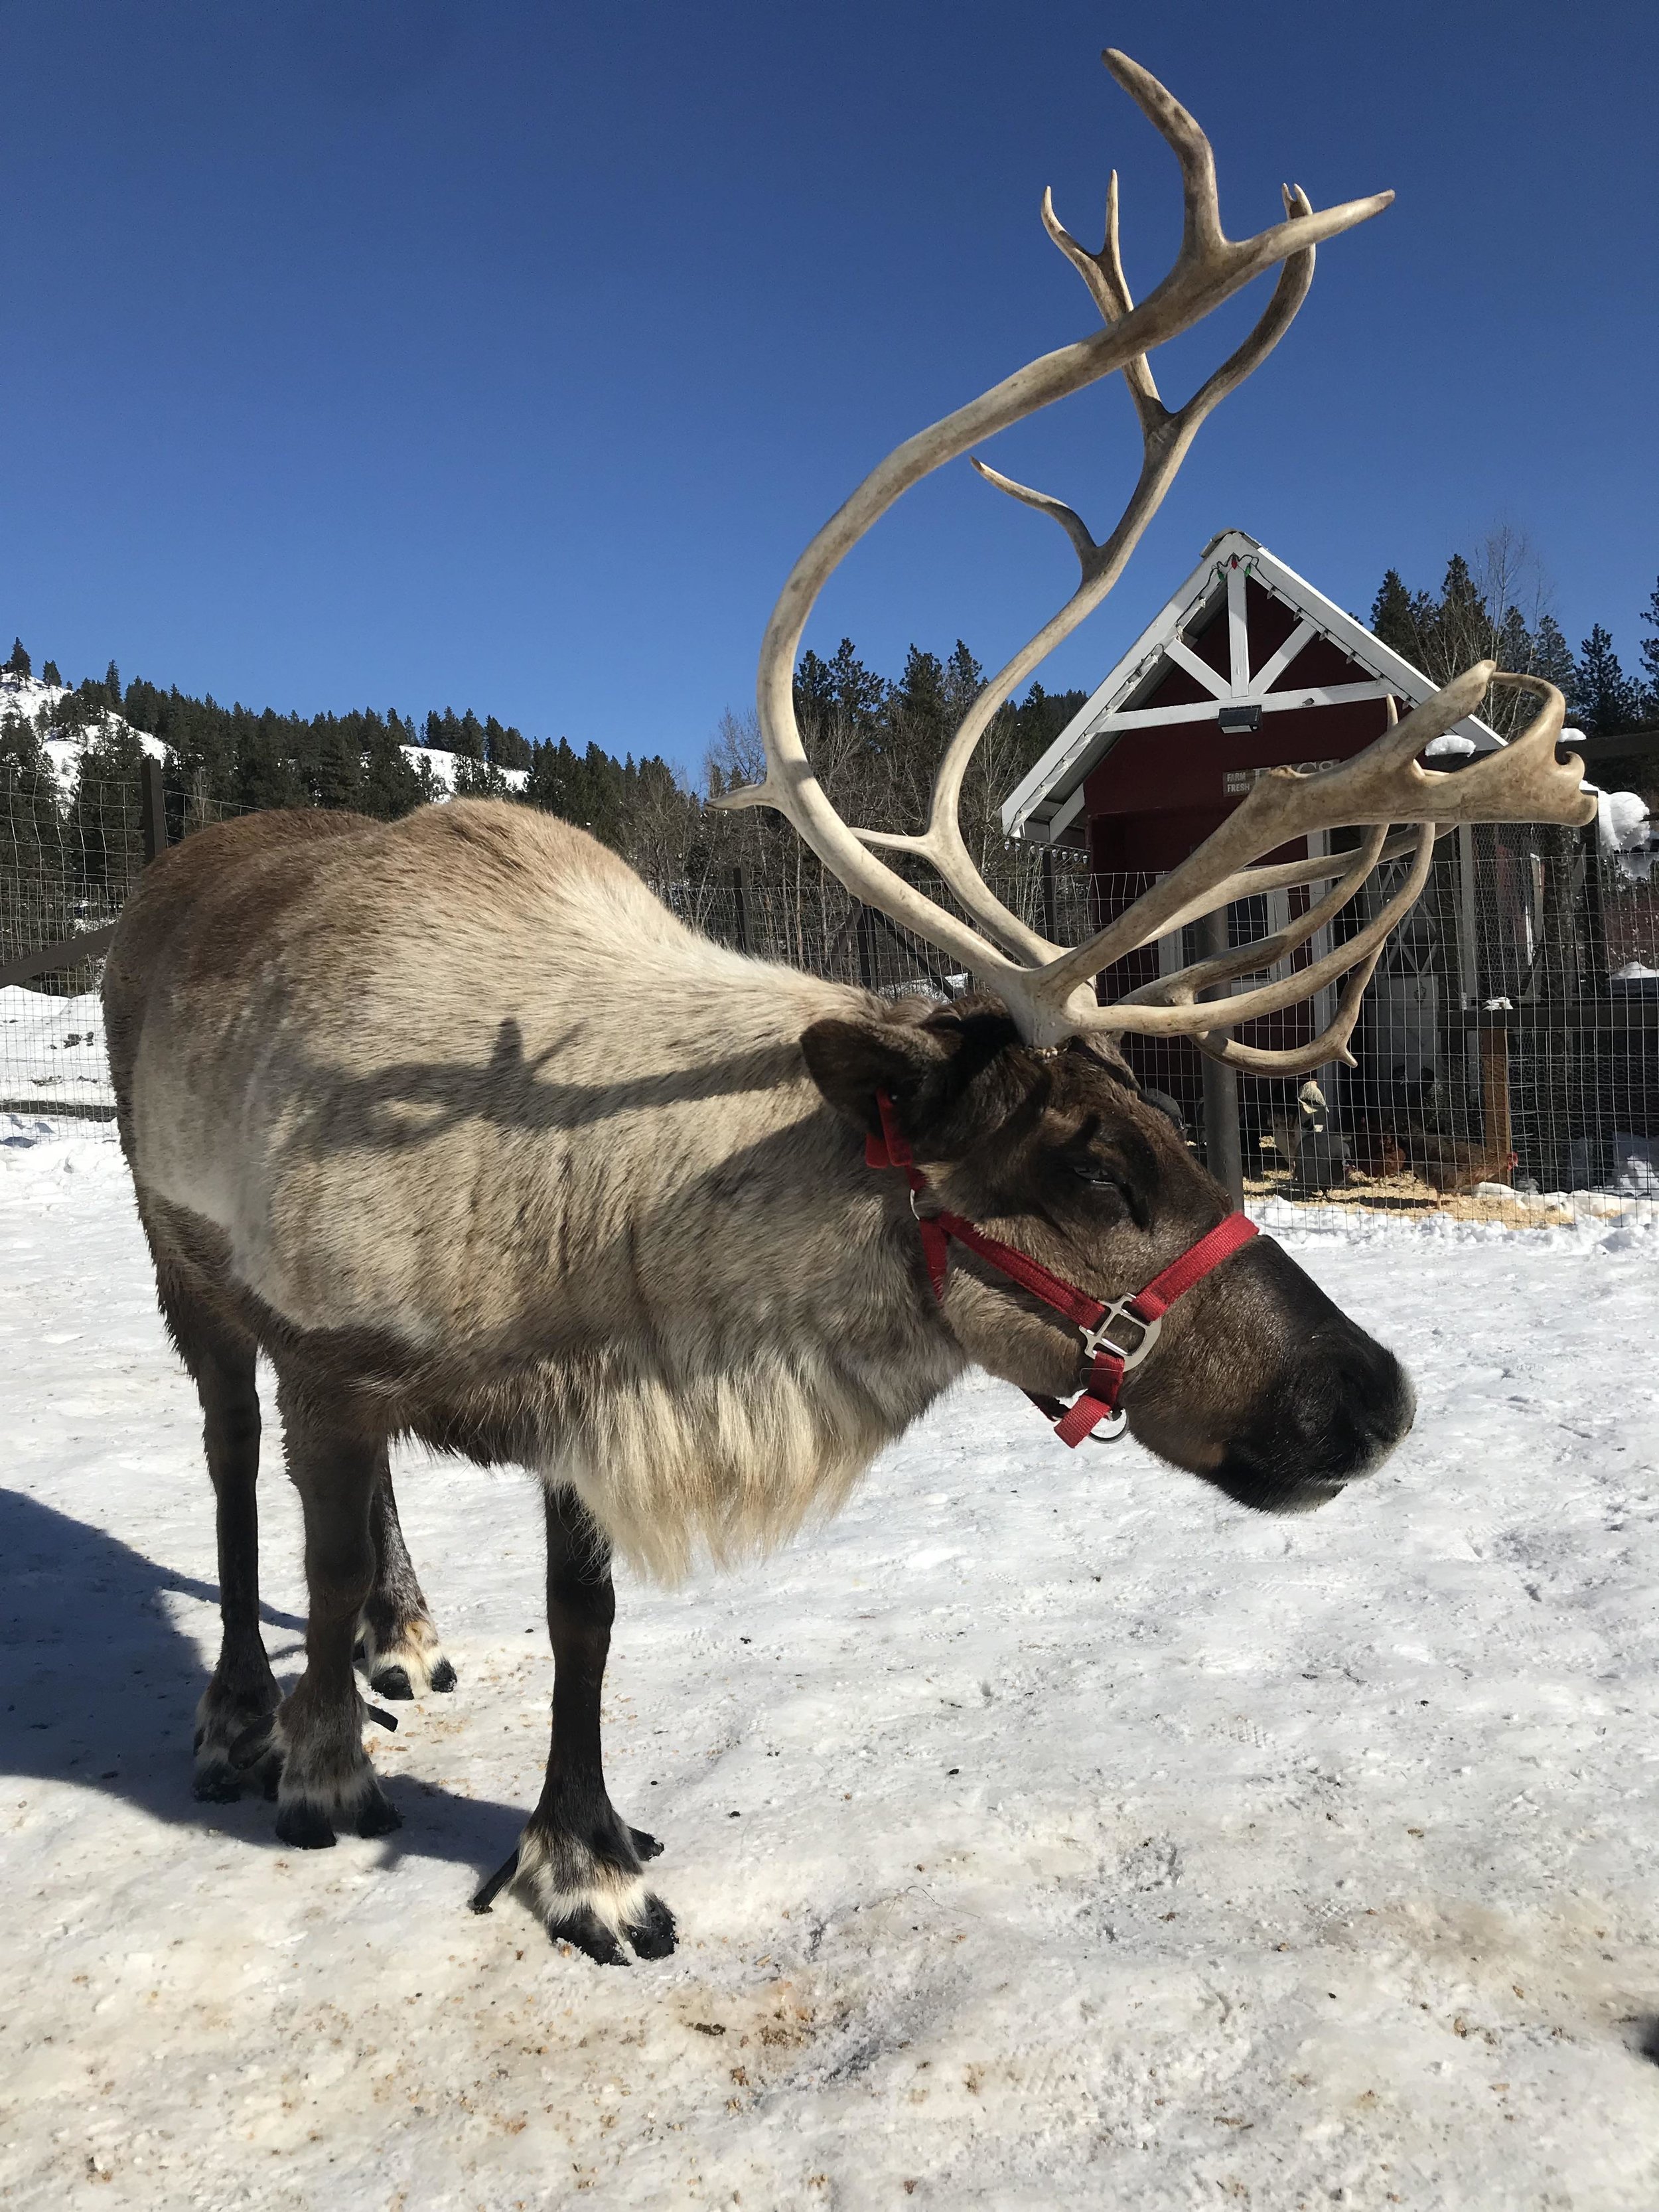
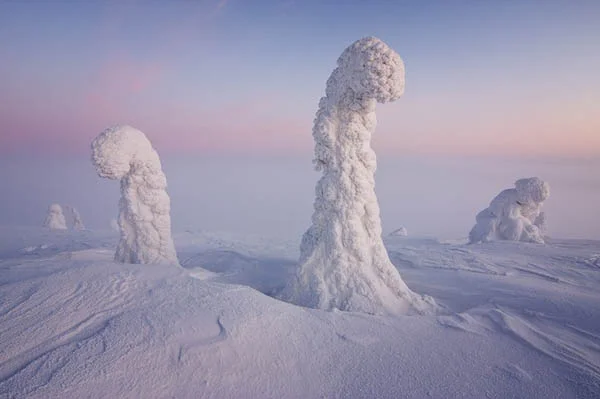
To make this:

It’s okay if it’s rough, just know that this is simply for reference and you can smooth out any mistakes in the actual painting process. This is also a good time for playing with any fun ideas (like here, adding stars and the moon).
Now that I’ve decided on my exact layout time to change it to black and white and do my value study.

I print this out and use tracing paper to transfer it on to sketch paper. Then I use standard drawing pencils to render (6B - 6H lead). I usually start by shading in the darkest areas, and working out from there.

Don’t be afraid to change things during this step! I decided to make the sky at the horizon and the drop shadow from the tree a little darker to compliment the cast shadow from the reindeer. You’ll notice that you’re able to get to know the structure of the subject as you work, this will be helpful during your final painting when making certain decisions.
Hope this is helpful for future adventures in art! Thanks for reading.
-KP